· Vojtech Svoboda · Kubernetes · 6 min read
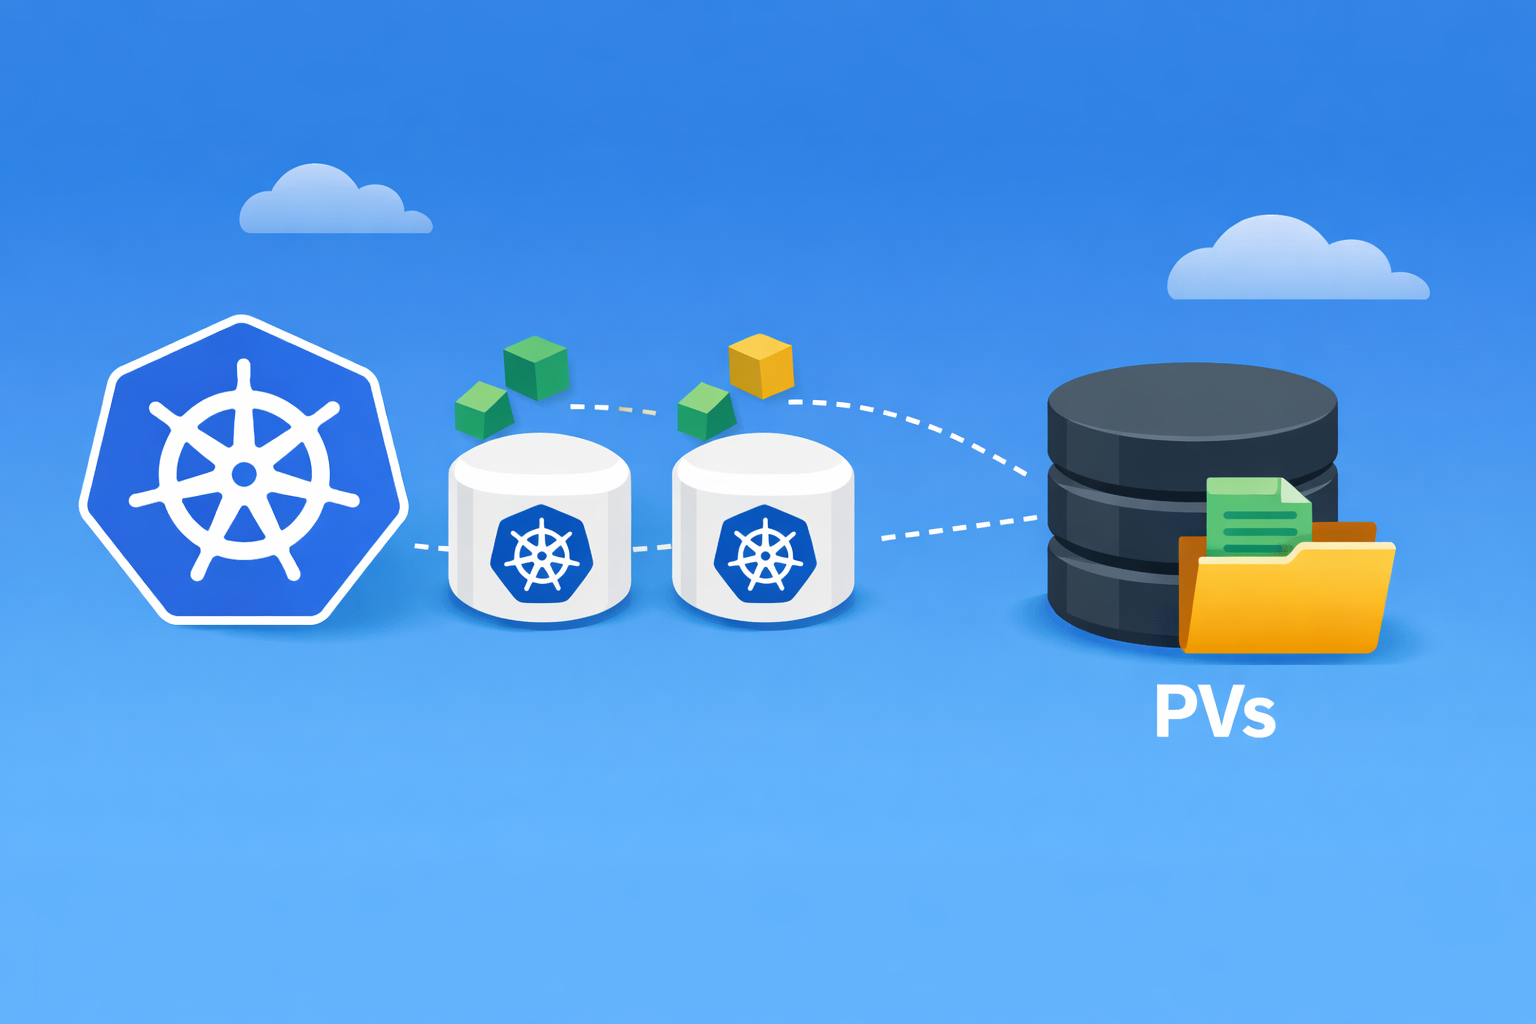
PVs on Fargate-only EKS clusters
How to set up persistent volumes on EKS Fargate only cluster and what to look out for.
At first glance, setting up persistent volumes (PVs) on a Fargate-only EKS cluster in AWS might not seem problematic. However, there are several important details and limitations to be aware of. In this post, we’ll walk through the key considerations and a working solution.
Background
We want to keep this post short, but first it’s important to clarify what Fargate actually is.
AWS Fargate is a technology that allows you to run container workloads (on ECS, EKS, or even Lambda) without managing the underlying virtual machines. It uses a concept called microVMs, where each workload (a task in ECS or a Pod in EKS) runs inside its own isolated VM. This is what AWS refers to as “serverless.”
These microVMs are not managed like EC2 instances. As users, we cannot access or manage them at all, which is one of the main benefits of the serverless model.
However, there are also drawbacks. For example, workloads typically take longer to start, because an underlying instance has to be provisioned first. Compared to launching Pods on already-running EC2 nodes, this can introduce a noticeable delay (sometimes up to two minutes).
Another important limitation is that microVMs do not support all EC2 features. In particular, they do not support attaching EBS volumes. This becomes a major challenge when you want to use Kubernetes Persistent Volumes, and that is exactly the problem we address in this post.
How to enable PVs
So how do we overcome this limitation and make a Fargate-only EKS cluster work with persistent volumes? After going through the AWS documentation, we found several areas that are not very clearly explained. Below is a step-by-step guide that fills in those gaps.
Prerequisites
You will need the following:
- helm
- kubectl
- An EKS cluster with a Fargate profile and administrator access credentials
- An AWS user with sufficient permissions to create and manage EFS and IAM
For the purposes of this post, we assume the AWS account has:
- A VPC with CIDR
10.0.0.0/16 - Three private subnets (
10.0.0.0/24,10.0.1.0/24,10.0.2.0/24) - Three public subnets (
10.0.3.0/24,10.0.4.0/24,10.0.5.0/24) - Subnets distributed across three Availability Zones
- An EKS cluster deployed in the private subnets
We will use the us-east-1 region throughout the guide.
EFS
Although EBS cannot be used with Fargate, EFS is supported and is the recommended solution for persistent storage in Fargate-only EKS clusters. While EFS has higher latency compared to EBS, it is currently the only supported option for persistent, shared file storage in this setup (excluding object storage).
First, create an EFS file system:
aws efs create-file-system \
  --tags Key=Name,Value=my-efs \
  --region us-east-1
Next, create a security group for the EFS mount targets:
aws ec2 create-security-group \
  --group-name efs-sg \
  --description efs \
  --vpc-id vpc-XXXX
Then, create mount targets in each private subnet that will be accessed by the EKS cluster:
aws efs create-mount-target \
  --file-system-id fs-<ID of the EFS created earlier> \
  --subnet-id subnet-private-1 \
  --security-groups sg-<ID of the security group created earlier>

aws efs create-mount-target \
  --file-system-id fs-<ID of the EFS created earlier> \
  --subnet-id subnet-private-2 \
  --security-groups sg-<ID of the security group created earlier>

aws efs create-mount-target \
  --file-system-id fs-<ID of the EFS created earlier> \
  --subnet-id subnet-private-3 \
  --security-groups sg-<ID of the security group created earlier>
Finally — and this step is critical — add security group ingress rules to allow NFS traffic (port 2049) from the private subnets. These rules must be associated with the EFS mount target security group:
aws ec2 authorize-security-group-ingress \
  --group-id sg-<ID of the security group created earlier> \
  --protocol tcp \
  --port 2049 \
  --cidr 10.0.0.0/24

aws ec2 authorize-security-group-ingress \
  --group-id sg-<ID of the security group created earlier> \
  --protocol tcp \
  --port 2049 \
  --cidr 10.0.1.0/24

aws ec2 authorize-security-group-ingress \
  --group-id sg-<ID of the security group created earlier> \
  --protocol tcp \
  --port 2049 \
  --cidr 10.0.2.0/24
AWS IAM role for the service account
Next, we need to create an IAM role that will be associated with a Kubernetes service account. This role allows the EFS CSI driver controller to create and manage EFS access points.
This process is documented in AWS documentation, but we’ve included it here for completeness.
First, retrieve the OIDC issuer ID for your cluster:
export cluster_name=my-cluster
aws eks describe-cluster \
  --name $cluster_name \
  --query "cluster.identity.oidc.issuer" \
  --output text
Next, create an IAM role that allows AssumeRoleWithWebIdentity:
cat <<EOF > aws-efs-csi-driver-trust-policy.json
{
  "Version":"2012-10-17",
  "Statement": [
    {
      "Effect": "Allow",
      "Principal": {
        "Federated": "arn:aws:iam::123456789012:oidc-provider/oidc.eks.us-east-1.amazonaws.com/id/EXAMPLED539D4633E53DE1B71EXAMPLE"
      },
      "Action": "sts:AssumeRoleWithWebIdentity",
      "Condition": {
        "StringLike": {
          "oidc.eks.us-east-1.amazonaws.com/id/EXAMPLED539D4633E53DE1B71EXAMPLE:sub": "system:serviceaccount:kube-system:efs-csi-*",
          "oidc.eks.us-east-1.amazonaws.com/id/EXAMPLED539D4633E53DE1B71EXAMPLE:aud": "sts.amazonaws.com"
        }
      }
    }
  ]
}
EOF

aws iam create-role \
  --role-name AmazonEKS_EFS_CSI_DriverRole \
  --assume-role-policy-document file://"aws-efs-csi-driver-trust-policy.json"
Finally, attach the required policy (AmazonEFSCSIDriverPolicy) to the role:
aws iam attach-role-policy \
  --policy-arn arn:aws:iam::aws:policy/service-role/AmazonEFSCSIDriverPolicy \
  --role-name AmazonEKS_EFS_CSI_DriverRole
With the AWS-side configuration complete, we can move on to installing the CSI controller. The service account will be created automatically as part of the Helm installation.
CSI controller
If the CSIDriver object does not already exist in the cluster, create it manually:
apiVersion: storage.k8s.io/v1
kind: CSIDriver
metadata:
  name: efs.csi.aws.com
spec:
  attachRequired: false
Although the EFS CSI driver can be installed as an EKS add-on, we have experienced issues when using the add-on in Fargate-only clusters. For that reason, this guide uses a self-managed installation via Helm.
helm repo add aws-efs-csi-driver \
  https://kubernetes-sigs.github.io/aws-efs-csi-driver/
helm repo update aws-efs-csi-driver

helm upgrade --install aws-efs-csi-driver \
  --namespace kube-system \
  --set controller.replicaCount=1 \
  --set controller.serviceAccount.annotations.eks\\.amazonaws\\.com/role-arn=<ARN of the created IAM role> \
  --set controller.containerSecurityContext.privileged=false \
  --set node.enabled=false \
  aws-efs-csi-driver/aws-efs-csi-driver
A few of these options deserve explanation:
replicaCountis set to 1 because this is an example setup and high availability is not required.- The
role-arnannotation ensures the controller’s service account can assume the correct IAM role. node.enabled=falsedisables the node daemonset, which is not supported on Fargate.privileged=falseis required because privileged containers are not allowed on Fargate and does not negatively affect the controller.
Storage class
Next, create a storage class that uses the EFS CSI driver and the previously created file system.
We use the efs-ap provisioning mode, which dynamically creates and deletes PersistentVolumeClaims in Kubernetes. Each PVC is backed by its own EFS access point, and changes are propagated to EFS very quickly.
kind: StorageClass
apiVersion: storage.k8s.io/v1
metadata:
  name: efs-sc
provisioner: efs.csi.aws.com
parameters:
  fileSystemId: fs-<ID of EFS>
  provisioningMode: efs-ap
  directoryPerms: '700'
And that’s all! Now we can verify the configuration by running a simple test.
Test the setup
With everything in place, we can test the configuration.
First, create a PersistentVolumeClaim that uses the created storage class:
apiVersion: v1
kind: PersistentVolumeClaim
metadata:
  name: poc-app-pvc
spec:
  accessModes:
    - ReadWriteMany
  storageClassName: efs-sc
  resources:
    requests:
      storage: 1Gi
Next, create two Pods to verify shared access to the storage. We use AWS-provided example manifests:
kubectl apply -f \
  https://raw.githubusercontent.com/aws-samples/eks-efs-share-within-fargate/refs/heads/master/scripts/epic04/pod1.yaml

kubectl apply -f \
  https://raw.githubusercontent.com/aws-samples/eks-efs-share-within-fargate/refs/heads/master/scripts/epic04/pod2.yaml
Once both Pods are running, you can exec into either of them and inspect the /data directory. You should see files created by both Pods, confirming that the shared persistent storage is working.
Conclusion
We have successfully configured persistent storage using EFS for a Fargate-only EKS cluster. While the solution is straightforward in principle, there are many steps where small misconfigurations can lead to confusing failures.
The most difficult issue to troubleshoot that we encountered was the following error:
kubelet MountVolume.MountDevice failed for volume "poc-app-pv" :
kubernetes.io/csi: attacher.MountDevice failed to create newCsiDriverClient:
driver name efs.csi.aws.com not found in the list of registered CSI drivers
This error message does not clearly indicate the root cause. In our case, the problem was incorrect or missing security group ingress rules on the EFS mount targets. Ensuring that NFS traffic (port 2049) is allowed from all relevant private subnets resolved the issue.